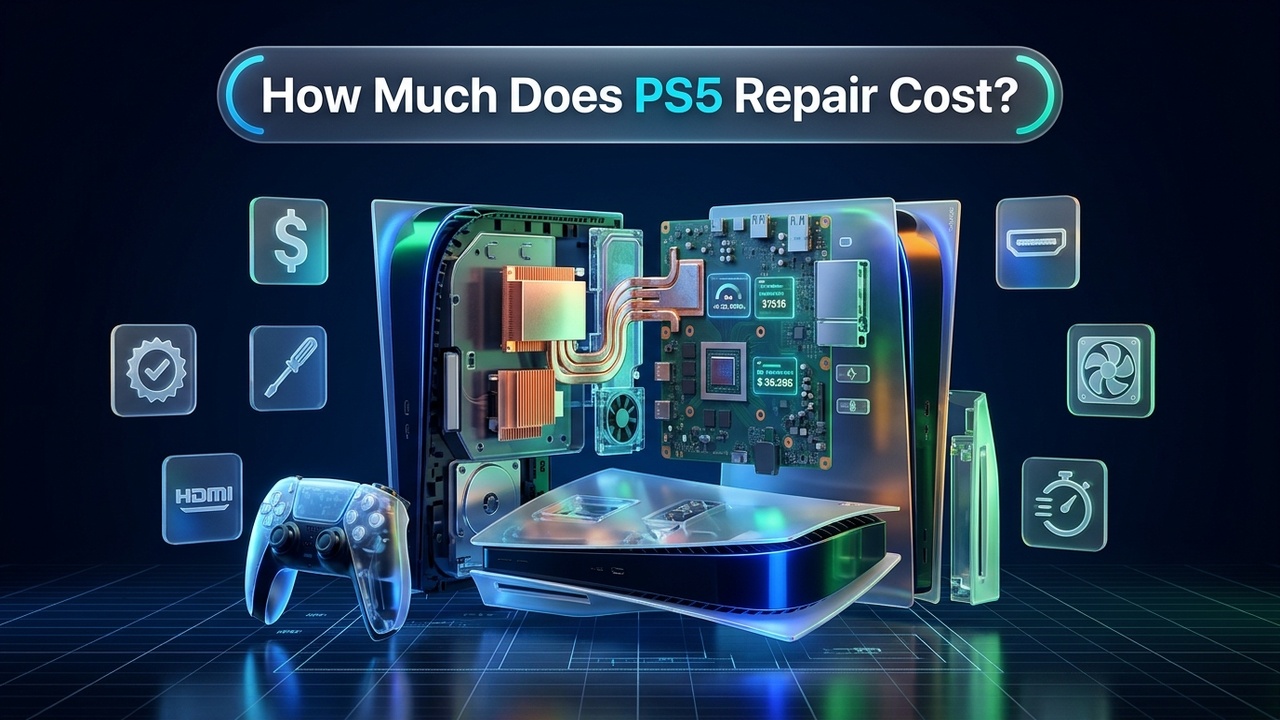
Sony's PlayStation 5 stands as an astonishing engineering achievement, bringing lightning-fast custom NVMe storage architecture, hardware-accelerated ray tracing, and ultra-high-definition 4K gaming at 120 frames per second directly into living rooms. Yet, behind its futuristic aesthetic and raw computational power lies an intricately packed electro-mechanical system that operates under tremendous thermal and mechanical stress. When your console abruptly refuses to display a picture, shuts down mid-boss fight with three warning beeps, or blinks an endless blue light of death, your entire gaming schedule is thrown into jeopardy. Understanding the root causes of these hardware malfunctions and knowing which fixes are safe for home troubleshooting versus which demand specialized bench equipment is essential. This comprehensive PS5 repair walkthrough breaks down the most frequent console failures, the underlying hardware science, step-by-step diagnostic workflows, and professional repair solutions to keep your gaming ecosystem running at peak performance.
In This Comprehensive PS5 Repair Guide
- The Internal Anatomy of the PS5: Power, Heat, and High-Speed Silicon
- Problem 1: Broken or Damaged HDMI 2.1 Port (The #1 Console Failure)
- Problem 2: The Blinking Blue Light of Death (BLOD) and Boot Failures
- Problem 3: Overheating, Loud Fans & The Liquid Metal "Dry Spot" Phenomenon
- Problem 4: Console Shuts Off Instantly or Won’t Turn On At All (Power Rail Short)
- Problem 5: Optical Disc Drive Errors (Discs Not Reading, Jammed, or Ejecting)
- Problem 6: DualSense Controller Stick Drift & Bluetooth Sync Drops
- Master PS5 Troubleshooting & Diagnostic Decision Matrix
- PS5 Repair vs. Buying New: The Financial and Data Preservation Math
- Preventative Console Maintenance: The 5 Longevity Commandments
- Professional Bench Repairs at DC Phone Repair
- Frequently Asked Questions About PS5 Hardware Issues
The Internal Anatomy of the PS5: Power, Heat, and High-Speed Silicon
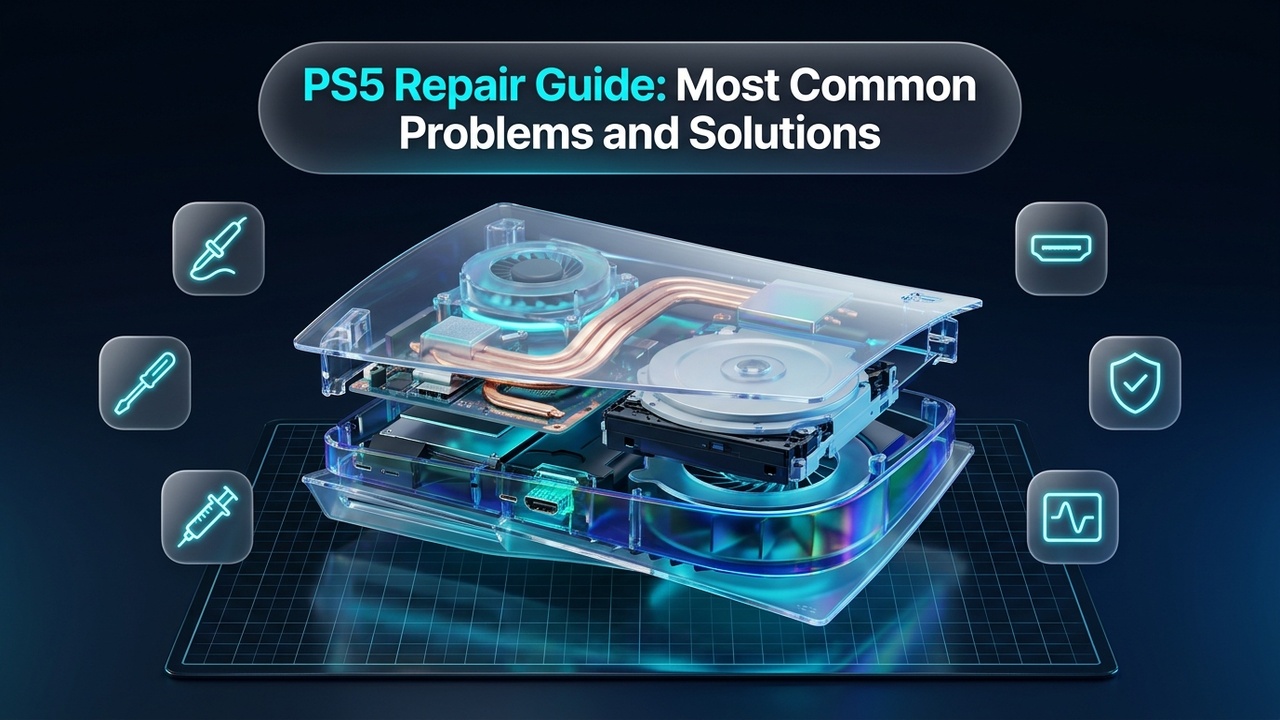
Modern gaming consoles no longer resemble the simple cartridge systems of past decades; they are specialized, high-density supercomputers. At the core of the PlayStation 5 sits a custom AMD Oberon Accelerated Processing Unit (APU) combining eight x86-64 Zen 2 CPU cores and a 36-compute-unit RDNA 2 graphics engine capable of 10.3 teraflops of graphical compute. To deliver this level of performance within a living room enclosure, Sony engineers had to pioneer aggressive hardware architectures:
- Liquid Metal Thermal Interface Material (TIM): Unlike traditional silicone-based thermal grease, Sony utilized an electrically conductive gallium-indium-tin liquid metal alloy between the naked APU die and the copper heat sink. While liquid metal provides extraordinary thermal conductivity, it requires an airtight multi-layered sponge barrier to prevent liquid droplets from escaping onto surrounding motherboard circuits.
- Unified High-Speed Motherboard Bus: Custom flash memory controllers interface directly with surface-mount NAND flash storage soldered directly to the mainboard, eliminating detachable drive cables but making motherboard survival critical to data recovery.
- HDMI 2.1 Display Pipeline: Delivering 4K resolution at 120Hz alongside Variable Refresh Rate (VRR) and Auto Low Latency Mode (ALLM) requires 48 gigabits per second of raw digital throughput routed through 19 microscopic connector pins.
- Dedicated Internal 350W Power Delivery: A dense internal switch-mode power supply unit delivers a single primary 12-volt rail that branches into complex multi-phase buck converters supplying clean, low-voltage power to memory, Southbridge controllers, and core silicon.
Because these subsystems are interconnected at microscopic tolerances, physical impacts, thermal accumulation, or electrical surges in one area can trigger protective hardware cutoffs. Effective console restoration depends on identifying whether a fault is software-based, modular, or requires component-level micro-soldering.
Problem 1: Broken or Damaged HDMI 2.1 Port (The #1 Console Failure)
Among all hardware repairs performed on contemporary gaming consoles, physical damage to the female HDMI port receptacle is overwhelmingly the most frequent. The design of the original PlayStation 5 chassis places the rear input ports close together, while the console's substantial weight makes shifting or repositioning the unit awkward when cables are connected.
Why PS5 HDMI Ports Suffer Catastrophic Failure
Several mechanical factors combine to create a high risk of port failure:
- Cable Leverage and Angular Torque: High-bandwidth HDMI 2.1 cables feature thick rubber shielding and stiff internal wire bundles. When the console is pushed back against an entertainment center wall, or when the console is jostled while cables remain inserted, the stiff connector acts as a lever arm. This leverage concentrates immense shearing force directly onto the four surface-mount anchor legs securing the metal receptacle to the motherboard.
- Blind Insertion Attempts: In dimly lit rooms behind televisions, users frequently attempt to plug the HDMI cable in upside down or at an angle. Forcing the connector crushes the delicate central plastic guide tongue inside the port, bending or snapping the 19 gold-plated contact pins.
- Tipping Accidents: If the console is stood vertically without the secure screw-in base installed, a minor bump can tip the heavy unit over backward, driving the inserted cable head straight into the rear metal backplate and tearing the port completely off the circuit board.
Symptoms of a Defective HDMI Port
A damaged HDMI port reveals itself through distinct visual and physical symptoms:
- The "White Light of Death" (WLOD): The console powers on, pulses blue for a few moments, and transitions cleanly to a solid white LED indicator light (signaling that the APU, RAM, and operating system have successfully passed the Power-On Self-Test), but the television screen remains completely black and displays "No Signal Detected."
- Visible Internal Pin Mangling: Shining a flashlight into the rear HDMI port reveals pins pushed backward toward the rear wall, pins bent into adjacent lanes, or the plastic center tongue wobbling loose.
- Flickering Video or Display Resolution Lock: The screen displays video, but sparkles, green pixel noise, or complete blackouts occur whenever the console or entertainment center is bumped. In other instances, the console stays locked at 480p resolution because the Extended Display Identification Data (EDID) communication pins are severed.
The Micro-Soldering HDMI Port Replacement Process
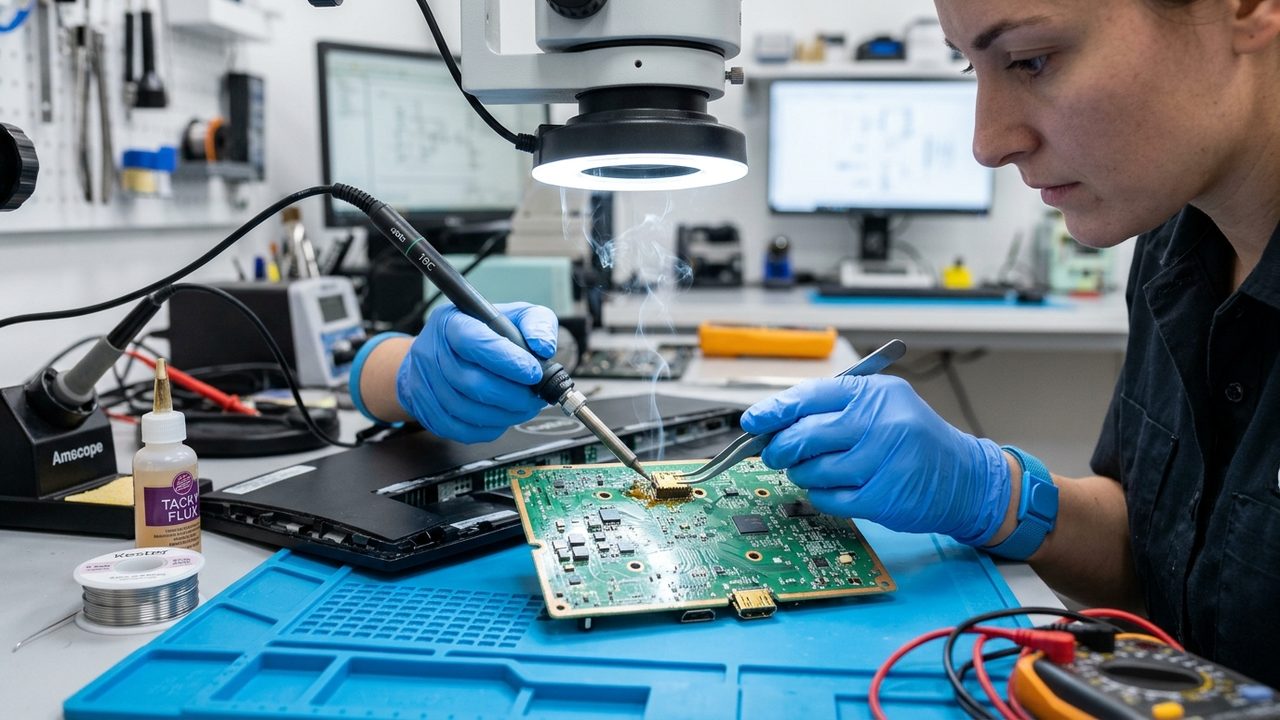
Replacing a PlayStation 5 HDMI port is not a modular swap; it requires precision bench micro-soldering. The repair involves stripping the console down to the bare motherboard, securing the board onto an anti-static preheating fixture, and applying controlled hot air rework alongside bismuth-based low-melt alloy to desolder the damaged connector without blistering the multi-layer PCB. Technicians then meticulously inspect the 19 surface-mount landing pads under a stereo microscope. If severe cable tugging tore copper traces off the board, micro-jumper wires made of 0.02mm enameled copper are soldered to reconnect the severed video lines before anchoring an OEM-grade reinforced HDMI 2.1 receptacle. Once soldered, each pin is validated with a digital multimeter in diode mode to confirm flawless ground and signal continuity.
Problem 2: The Blinking Blue Light of Death (BLOD) and Boot Failures
When you press the power button on a healthy PlayStation 5, the LED indicator strip illuminates blue for a few seconds before shifting to a steady, confident white light as the system boots into the user interface. When the console is suffering from a catastrophic internal hardware fault, the light pulses blue continuously, clicks, and shuts down completely, or blinks indefinitely without ever transitioning to white. This state is universally referred to as the Blinking Blue Light of Death (BLOD).
Underlying Engineering Causes of BLOD
A persistent blue blinking indicator signals that the console's internal supervisory circuitry cannot complete the preliminary hardware handshake. Primary causes include:
- APU Ball Grid Array (BGA) Solder Fatigue: The massive central processor is connected to the motherboard via thousands of microscopic lead-free solder balls. Over years of thermal cycling (rapid heating during 4K gameplay followed by cooling after shutdown), physical expansion and contraction can cause microscopic fractures in these solder joints, severing communication between the CPU and memory channels.
- Southbridge Controller Failure: The custom Sony Southbridge chip (CXD90061GG) manages low-speed communication between peripheral controllers, Wi-Fi modules, SSD controllers, and boot flash ROM. If this chip sustains an internal silicon failure or power rail drop, boot initialization halts instantly.
- Corrupted NOR Flash Boot Firmware: The console stores critical cryptographic boot keys and low-level firmware in a dedicated SPI NOR flash chip. Corrupted firmware blocks the secure boot loader from executing.
Safe Home Troubleshooting Protocols for Boot Failures
Before assuming your console requires board-level micro-soldering, attempt these non-destructive recovery steps:
Step-by-Step Safe Mode Recovery Protocol:
- Perform a Full Electrical Discharge: Unplug the AC power cord from the rear of the console and the wall outlet. Press and hold the front power button for 10 seconds to drain residual charge from motherboard electrolytic filter capacitors. Leave the console unplugged for 20 minutes before reconnecting directly to a known-working wall outlet (bypassing power strips).
- Initiate Safe Mode: With the console completely powered down, press and hold the physical power button on the front face. You will hear an initial beep; continue holding the button down for approximately 7 to 8 seconds until a second beep sounds, then release. Connect your DualSense controller using a certified USB data cable and press the PS button.
- Option 2: Change Video Output: Select Change Video Output and set the resolution to
YUV420or standard1080p. In many cases, HDCP handshake mismatches with high-end OLED televisions cause artificial boot loops that resolution resets resolve instantly. - Option 5: Clear Cache and Rebuild Database: Corrupted file indexing from sudden power interruptions can freeze the boot loader. Selecting Rebuild Database cleans the file system without deleting installed games or user profiles.
- Option 7: Reinstall System Software: If the operating system core is corrupted, downloading the full PS5 recovery firmware from PlayStation's official support site onto a FAT32/exFAT formatted USB thumb drive and performing a clean OS install will restore system operation.
Problem 3: Overheating, Loud Fans & The Liquid Metal "Dry Spot" Phenomenon
Few sounds cause more dread for a gamer than the cooling fan spinning up to maximum velocity like a jet engine, followed by a sudden screen message warning: "Your PS5 is too hot. Turn off your PS5 and wait until the temperature goes down." If unaddressed, the console will abruptly shut down mid-game to prevent the silicon processor from burning out.
The Science Behind the Liquid Metal "Dry Spot"
The PlayStation 5 relies on liquid metal alloy rather than standard thermal paste because it conducts heat over 10 times more efficiently. However, liquid metal behaves as a fluid. In consoles that are stood vertically for thousands of operational hours inside warm entertainment centers, gravity combined with surface tension can cause the liquid metal to pool downward toward the lower edge of the processor die. This migration leaves the upper portion of the bare silicon completely exposed with zero thermal transfer to the copper heatsink. When the processor engages high clock frequencies, this "dry spot" spikes in temperature to over 105°C within seconds, triggering emergency thermal cutoffs even if the heatsink fins feel completely cool to the touch.
Dust Blanketing on Internal Heatsink Fins
Behind the PS5's massive internal fan sits a dual-block heat pipe radiator assembly positioned directly ahead of the power supply intake. Over 12 to 24 months, ambient room dust, pet hair, and airborne fibers collect against these dense radiator fins, forming an impenetrable felt-like "dust blanket." This completely chokes intake airflow, trapping radiant heat inside the chassis and boiling the internal power supply components.
Professional Thermal Restoration & Repasting
Resolving severe thermal issues requires professional disassembly. Technicians remove the outer white faceplates, extract the fan assembly, and separate the mainboard from the massive magnesium-aluminum sub-chassis. The existing liquid metal is carefully agitated and spread using lint-free ESD micro-swabs to re-wet the oxidized copper cold plate and silicon die. In cases where the foam gasket has degraded, fresh industrial-grade liquid metal compound is measured and applied with strict boundary containment to guarantee zero spillage onto surrounding surface-mount capacitors. Once repasted and dusted, operational die temperatures drop by 20°C to 30°C, restoring whisper-quiet operation.
Problem 4: Console Shuts Off Instantly or Won’t Turn On At All (Power Rail Short)
In this failure mode, pressing the power button produces a solitary beep and a momentary flash of the blue LED light before the console instantly clicks off. Subsequent presses of the power button produce no response whatsoever until the power cable is pulled and re-inserted, at which point the single-beep cycle repeats.
Diagnosing the Single-Beep Power Cutoff
This distinct symptom is an intentional hardware safety mechanism known as Short Circuit Protection (SCP) or Over Current Protection (OCP). The internal power supply unit detects that an electrical short circuit exists on the 12-volt main power rail, and it instantly trips its internal relay to prevent high-amperage current from melting motherboard circuit traces or causing an electrical fire.
| Hardware Symptom | Underlying Electrical Cause | Definitive Bench Solution |
|---|---|---|
| One beep, light turns on for 1 second, then clicks completely dead. | Dead short to ground on the main 12V rail; blown high-side MOSFET in APU Voltage Regulator Module (VRM). | Thermal imaging bench analysis under low-voltage current injection to locate shorted capacitor or MOSFET; desolder and replace failed SMD silicon. |
| Zero response: no beep, no light, fan does not flinch. | Internal power supply unit failure; blown primary rectifier fuse or failed 5.5V standby transformer. | Test PSU standby voltage rail with multimeter; swap internal power supply unit with genuine OEM replacement. |
| Turns off abruptly after exactly 10 to 20 minutes of 4K gameplay with no warning. | Power supply overheating due to choked ventilation holes located beneath the optical disc drive area. | Deep chassis tear-down to clear dust dams blocking internal power supply intake ventilation grates. |
Problem 5: Optical Disc Drive Errors (Discs Not Reading, Jammed, or Ejecting)
Physical media enthusiasts and collectors frequently face mechanical and optical failures with the PlayStation 5 Ultra HD Blu-ray disc drive. Whether the drive makes alarming grinding noises upon disc insertion, displays the dreaded "Unrecognized Disc" error, or refuses to eject expensive game discs, optical drive faults require specialized handling.
Mechanical Jamming and Misaligned Rollers
The PS5 disc intake mechanism utilizes motorized rubberized intake rollers, plastic guide arms, and optical sensor switches. Common mechanical failure vectors include:
- Foreign Object Obstruction: Coins, stickers, or two discs shoved simultaneously into the drive slot (a frequent occurrence in households with young children).
- Dislodged Roller Timing Gears: Forcing a disc into the slot while the motor is unpowered can pop the plastic timing gear out of its spiral track, locking the transport carriage.
- Manual Emergency Eject Screw: Sony incorporated a mechanical emergency eject screw on the underside of the optical drive casing. Turning this screw counter-clockwise with a small Phillips screwdriver manually advances the gear train to safely extract stuck discs without power.
Laser Diode Failure and the "Married Daughterboard" Reality
The optical pickup head contains two separate laser diodes: a red laser for standard DVD playback and an ultra-precise 405nm violet-blue laser for reading high-density dual-layer and triple-layer UHD Blu-ray game discs. Over years of use, the Blu-ray laser diode degrades, losing the optical intensity required to read modern game discs while still playing older DVD movies perfectly.
A critical engineering consideration unique to modern PlayStation hardware is that the optical drive logic board is cryptographically paired to the console motherboard. You cannot simply purchase a replacement disc drive from eBay and plug it in; the console will reject the foreign drive with a firmware mismatch error. Repair requires either replacing the laser pickup assembly independently or desoldering the original encrypted daughterboard and transplanting it onto the replacement drive chassis.
Problem 6: DualSense Controller Stick Drift & Bluetooth Sync Drops
While not housed inside the console chassis itself, the DualSense wireless controller is an inseparable component of the PS5 experience. Analogue stick drift—where in-game characters walk on their own or the camera spins uncontrollably without user input—is one of the most frustrating aspects of modern gaming.
The Mechanics of Potentiometer Stick Drift
Standard DualSense thumbsticks utilize electromechanical potentiometers. A physical wiper arm sweeps across a circular carbon resistive track to translate physical stick deflection into voltage values. Over 400 to 800 hours of vigorous gaming, the metal wiper physically scrapes away microscopic particles of the resistive carbon track, creating electrical noise and dead zones that the controller firmware interprets as permanent directional input.
The Modern Solution: Hall Effect Magnetic Joystick Upgrades
While cleaning potentiometers with electronic contact cleaner provides temporary relief, the wear is mechanical and irreversible. Advanced repair facilities now offer permanent Hall Effect joystick upgrades. Hall Effect sensors utilize electromagnetic fields and tiny neodymium magnets rather than physical friction contacts. Because the sensors never physically touch, they suffer zero mechanical friction wear, completely eliminating stick drift for the lifetime of the controller.
Master PS5 Troubleshooting & Diagnostic Decision Matrix
When unexpected console symptoms arise, consult this technician reference table to identify probable causes and targeted solutions:
| Observed Symptom | Primary Suspect Component | First Diagnostic Action | Definitive Hardware Repair |
|---|---|---|---|
| Solid white light on console, TV reports "No Signal." | Physical HDMI 2.1 port or Panasonic HDMI retimer IC (MN864739). | Inspect port pins with flashlight; test with known-good 8K HDMI cable on second TV. | Micro-soldering replacement of female HDMI receptacle; repair torn PCB pads if present. |
| Pulsing blue light that never turns white (BLOD). | APU BGA solder joint fracture, Southbridge IC, or corrupted boot NOR flash. | Attempt Safe Mode boot (hold power 7 seconds); rebuild database. | BGA reflow/reballing of APU; reprogramming NOR flash chip with hardware programmer. |
| High fan noise followed by sudden shutdown and 3 beeps. | Liquid metal pooling (dry spot on APU die) or dust clogging heatsink radiator. | Remove side plates; vacuum dust catchers; check if console feels boiling hot on top. | Complete thermal teardown, ultrasonic heatsink wash, and liquid metal re-application. |
| Single beep when power button is pressed, then immediate power cut. | Motherboard 12V rail short circuit or failed internal power supply unit. | Unplug power cable for 20 minutes to reset PSU circuit breaker; test alternate outlet. | Inject voltage with bench power supply to identify shorted VRM ceramic capacitor; replace. |
| Loud grinding when inserting disc; "Unrecognized Disc." | Worn intake roller gears or failed 405nm Blu-ray laser pickup diode. | Test with standard DVD movie vs 4K Blu-ray game to isolate optical wavelength failure. | Replace laser pickup assembly (KES-497A) while preserving paired logic daughterboard. |
PS5 Repair vs. Buying New: The Financial and Data Preservation Math
When faced with a major console breakdown, gamers must evaluate whether to invest in professional repair or purchase a replacement PlayStation 5 console. In the overwhelming majority of scenarios, component-level repair is drastically more cost-effective and protects irreplaceable local game data.
| Repair Category | Average Professional Repair Cost | Cost of Replacement Console | Estimated Financial Savings |
|---|---|---|---|
| HDMI 2.1 Port Replacement | $110 – $145 | $499 – $549 | Save $350 – $430+ (75% Savings) |
| Thermal Overhaul & Liquid Metal Repaste | $85 – $120 | $499 – $549 | Save $380 – $460+ (80% Savings) |
| Power Supply Unit (PSU) Replacement | $130 – $175 | $499 – $549 | Save $320 – $410+ (70% Savings) |
| Optical Laser / Drive Mechanism Repair | $115 – $155 | $499 – $549 | Save $340 – $430+ (75% Savings) |
The Irreplaceable Value of Local Data Preservation
Beyond monetary savings, repairing your existing hardware is the only reliable way to save your personal game data. Because the PS5's primary internal SSD is comprised of surface-mount NAND chips encrypted by a unique cryptographic hardware key embedded in the APU, you cannot remove the storage drive and plug it into another console to read your files. If you do not have an active PlayStation Plus cloud backup subscription, purchasing a replacement console means permanently losing hundreds of hours of offline campaign progress, captured screenshots, and personalized system settings. Professional hardware repair preserves your original motherboard, maintaining complete data continuity.
Preventative Console Maintenance: The 5 Longevity Commandments
The vast majority of catastrophic hardware breakdowns can be prevented through proper physical environmental care:
- Ensure Unrestricted Airflow Clearance: Maintain at least 4 to 6 inches of open space around all sides of the console. Never operate a PlayStation 5 inside a closed wooden entertainment cabinet or on thick carpet where ventilation vents are smothered.
- The Orientation Consideration: While the PS5 is engineered to operate in both vertical and horizontal orientations, horizontal placement physically prevents gravity from pulling liquid metal downward, drastically reducing the formation of APU dry spots over multi-year periods. If keeping the console vertical, always use the factory stand with the locking screw properly tightened to prevent tipping accidents.
- Utilize Right-Angle HDMI Strain Relief: If your console sits close to a wall, attach a low-profile 90-degree HDMI adapter. This directs the stiff cable downward along the rear chassis, preventing constant torque stress from cracking the internal solder pads.
- Perform Bi-Annual Dust Evacuation: Every 6 months, snap off the white side faceplates and inspect the two triangular dust catcher ports. Use a low-powered vacuum cleaner or compressed air gun to extract loose dust bunnies before they can compact against the internal heatsink fins. Always hold the cooling fan blades stationary with a plastic tool when blowing air to avoid generating damaging electrical back-current.
- Employ High-Grade Surge Protection: Modern console power supplies are sensitive to voltage spikes and dirty power. Connect your gaming setup to a dedicated surge protector or uninterruptible power supply (UPS) to shield the delicate power switching circuitry from lightning strikes and grid brownouts.
Professional Bench Repairs at DC Phone Repair
When home troubleshooting reaches its limit and precision hardware repair is required, bringing your console to certified electronics technicians ensures safe, permanent restoration. At DC Phone Repair, our workshop is outfitted with medical-grade stereo microscopes, computerized infrared BGA rework stations, thermal imaging cameras, and precision micro-soldering irons.
Whether your console requires a reinforced HDMI 2.1 port replacement with micro-jumper trace reconstruction, a complete liquid metal cooling overhaul, or component-level short circuit isolation on the mainboard, our technicians deliver rapid turnaround backed by industry-leading warranties and complete transparency.
Frequently Asked Questions About PS5 Hardware Issues
Can a broken PS5 HDMI port be fixed without replacing the entire motherboard?
Yes. A damaged HDMI connector can be completely replaced by an experienced micro-soldering technician without swapping the entire motherboard. The defective port is desoldered using specialized hot air equipment, and a brand-new OEM HDMI 2.1 receptacle is precision-soldered onto the original board, saving hundreds of dollars compared to buying a replacement console.
Is it true that keeping the PS5 in a vertical position causes liquid metal leaks?
Liquid metal does not typically leak outside the protective foam barrier unless the console has been dropped or previously opened by an inexperienced person. However, continuous vertical use over thousands of hours can cause the liquid metal to pool downward due to gravity, creating an untreated dry spot on the upper section of the processor die that triggers severe overheating and unexpected shutdowns.
How long does a professional console repair take at DC Phone Repair?
Most standard console services, including HDMI port replacements, thermal cleanings, and power supply swaps, are completed within 24 to 48 hours. In many instances where parts are in stock, same-day bench service is available so you can get back to gaming without extended downtime.
Can I replace a broken PS5 disc drive with one from another console?
Not directly. Sony cryptographically pairs the optical disc drive logic board to the specific console motherboard at the factory. If you plug in a foreign drive, the console will reject it. To fix drive issues, technicians either replace the optical laser pickup mechanism or transplant the original paired logic board onto the replacement drive chassis.
Why does my PS5 turn off completely with no warning after 15 minutes of gaming?
This symptom almost always points to an overheating internal power supply unit. While the main cooling fan extracts heat from the APU, dust blankets can choke the narrow bottom ventilation holes feeding cool air into the power supply. Once the power supply overheats under intense gaming loads, its internal thermal fuse cuts power instantly to prevent component damage.
Need Fast & Reliable Device Repair in Washington, DC?
Don't let a cracked screen, dying battery, or faulty charging port slow you down. Our certified technicians provide same-day diagnostics and repairs using premium replacement parts backed by our comprehensive warranty.
Phone: (202) 478-4799 | Open Daily: 10:00 AM - 10:00 PM