Blog Details
iPhone Customization
Now that Cell Phones have gotten faster, cooler, better, you may grow attached to your tiny "world at your fingertips" gadget. People are really into their phones.
Maybe that is why customizing your iPhone has become such big business. Now you can make your stock iPhone come to life with a variety of very cool designed shells. Many businesses have started offering customization services where they will take the logic board out of your current shell and install it in a bright and shiny new shell of your choosing.
This article is about how I changed my stock silver and black iPhone 5s into a really cool matte blue and black finish with gold trim and buttons.
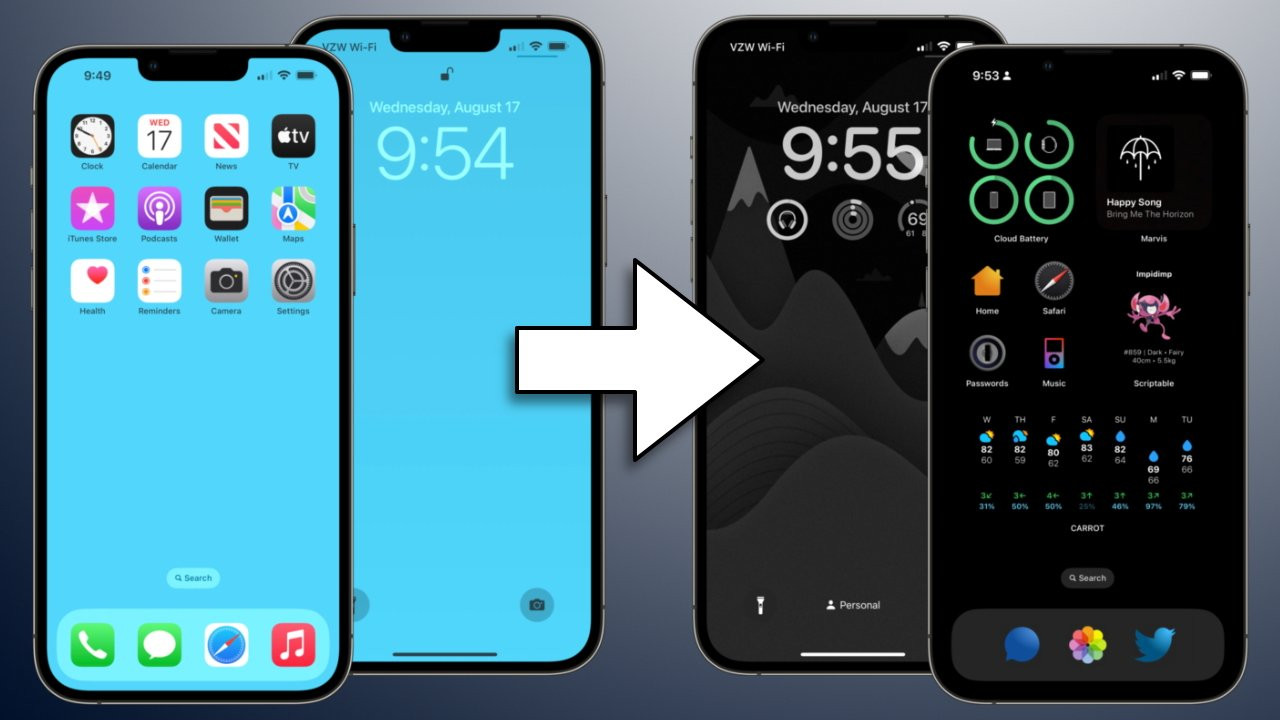
This photo to the left is of the cuttent iPhone 5s side by side with the new custom shell. At this point you are only 15 minutes away from the coolest iPhone on your block.
You need to be super careful when you dissasemble your iPhone as it is very delicate and easy to break. It is much like dissabling a bomb, a steady hand is reaquired.
First remove the pentalobe screws at the bottom of the iPhone. Go slow and press hard with the screw driver to avoid stripping these screws. Apple uses very soft metal when they make their screws and it is easy to strip one.
A stripped screw will add lots of time to your repair so knowing how to prevent one will streamline your process.
Once the phone is open your will spot a number of screws holding the logic board in the phone. You must be very careful to track each screw and know exactly where it came from. Each screw is designed for its specific spot and putting the wrong screw into the wrong hole can be devastating. If you put a long screw into a hold that is for a short screw your long screw will go deeper than intended and in many cases right into the logic board itself. There are about a thousand traces inside these boards that connect spot A to spot B and these traces are in 3 different layers inside the logic board. If you tear even just one of these traces you will have a very difficult trace repair on your hands. That repair is for another article at another time.
You should lay your current phone along side your new custom shell and examine it closely. Look for differences and make sure that everything you need is already in the shell. (Many come with small parts installed) If it is not the same you will need to move your small parts over. This custom shell that I have has all the small parts already installed. This makes for an easy 15 minute job.
Now you should have your screws holding the logic board down removed and kept safe for easy placement back into their correct spot. I use a maginified diagram of the inside of an iPhone 5s. You can easily find one doing a Google Image search and then use business card sized magnets that you can find at Office Depot. Stick the magnets down on a clip board or something and put your printout of the inside of the iPhone over the magnets. Now place each screw in its place on the diagram.
Ok, before you just pull your logic board out of the old shell you need to be careful to notice the wifi antenna that is plugged into the underside of the logic board. Be very careful to unplug this connector with your spudger.
So now we are here with the logic board removed from the original phone shell.
This is my personal phone and it has never been this dissasembled before. I would be nervous if I wasnt a cellphgone repair tech with a shop full of tools and parts. You may be a DIYer at home and not have the resources that I have. If that is the case you may want to consider going to a shop with experience.
Anyway, this shell swap went off without a hitch.
Now it is time to carefully slide the top of the logic board into its slot in the new shell before lowering the bottom of the board into its place. You will need to hold the home button flex cable back out of the way so that the board slips into place.
Now using your screw placement charge begin re-installing the screws starting with the offset srews first. These are the screws that go in first and then later have another screw fit inside the top of this one.
If you kept good track of each screw it should be a very simple re-install and the phone should go back together quickly.
Once you have reassembled your phone and put the screen back on it should look something like this depending on the design that you chose.
Frequently Asked Question
Welcome to our FAQ section! Here, we've compiled a list of commonly asked questions to provide you with quick answers and assistance. If you don't find the answer you're looking for, feel free to contact us directly, and we'll be happy to help.
How long does your repair service take?
At DC Phone Repair, we are able to fix most phones within 10-15min. Walk-in Welcome, We carry all parts including phone screens, charger port, iPhone batteries, android batteries, ear speakers, black glass, loud speakers, Samsung pens and many more. We can fix your cracked screen or broken phone screen within minutes.
Can DC phone repair fix water damaged phones?
We can fix any phones, if you dropped your phone in the water no worries, DC phone repair can repair you phone. our experiences techs can run diagnostics on your device and tell you exactly what is the issue and fix it quick. Our diagnostic is completely FREE!
DO I NEED AN APPOINTMENT OR CAN I WALK-IN?
We welcome all customers including Walk-ins and appointments. Most repair times are less than 10-15mins so you don't have to leave your device with us most of the time. We Love our customers at DC Phone Repair and we strive to serve our customers in the best we can.
WHAT KIND OF PHONE REPAIR SCREEN OPTIONS DO YOU PROVIDE?
At DC Phone Repair, We carry all different types of screens, including OLED replacement Screens, LCD screens, OEM apple screens, OEM Samsung screens, call us today so we can fix your phone right!
-
00
+Glorious Years
-
00
k+Happy Customer
-
00
k+Service Complete
-
00
%Satisfactions